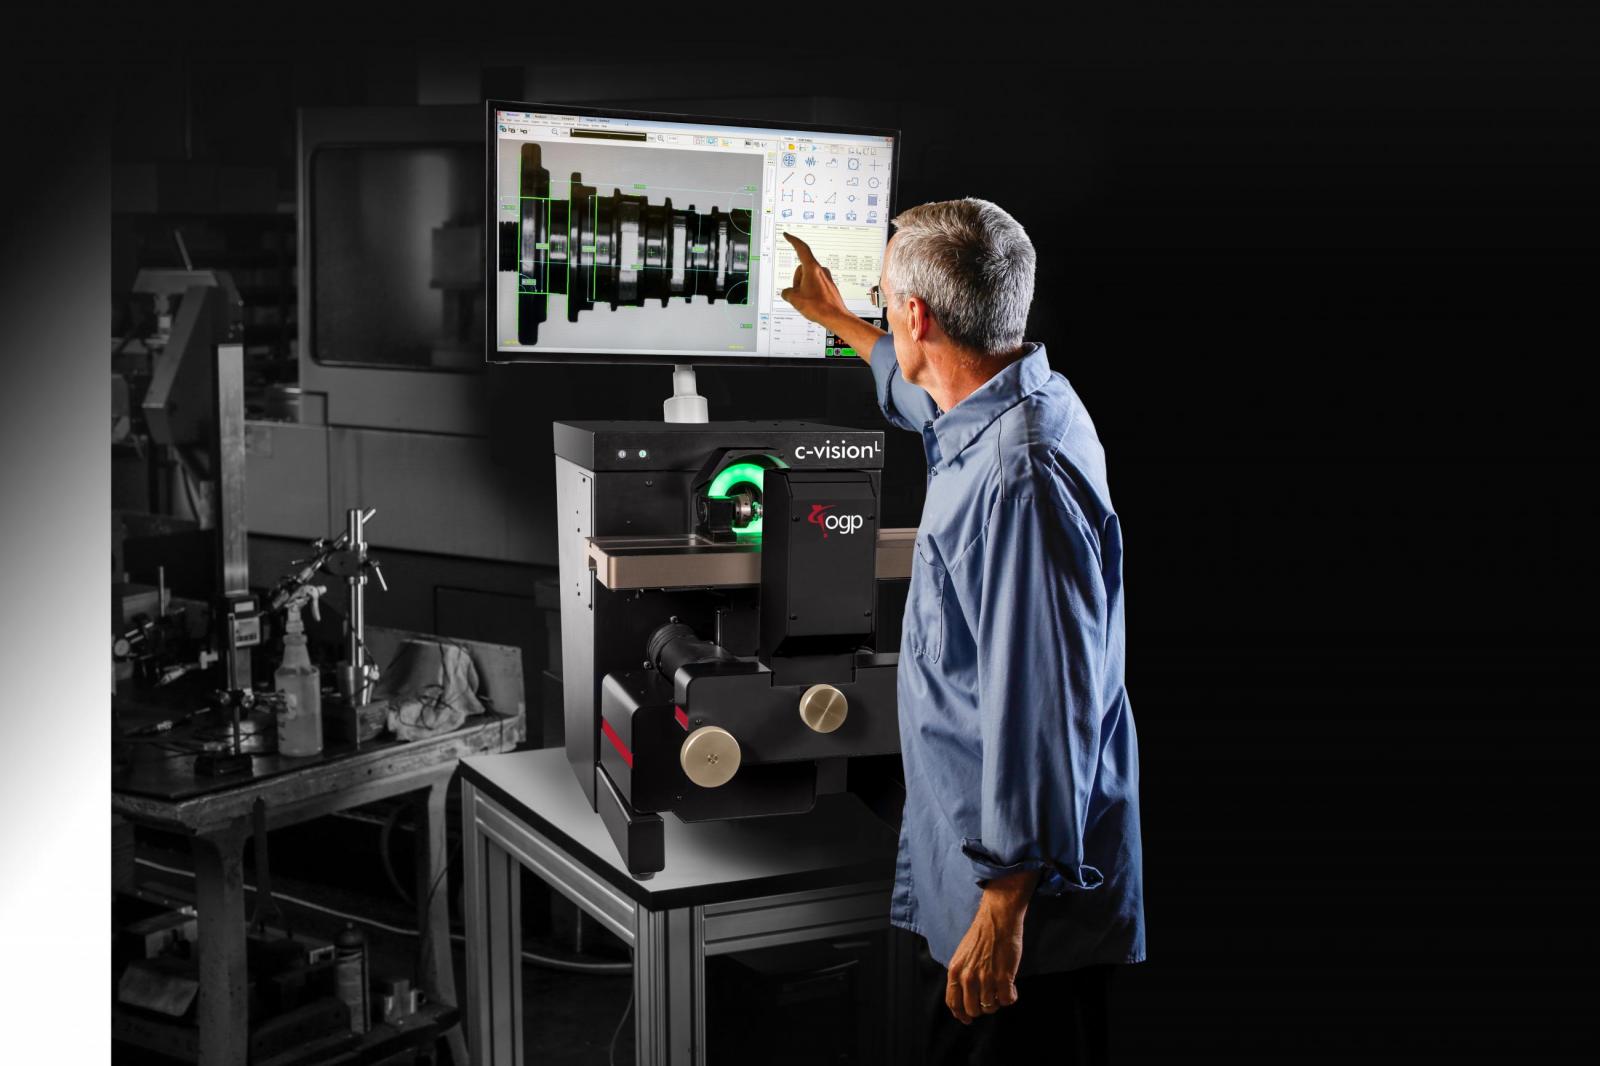
Optical Comparator: A Timeless Tool for Precision Measurement

In high-precision manufacturing measurement, the optical comparator remains a tried-and-true tool. Although newer metrology systems have become more popular, this old standby remains part of quality assurance procedures. From first-piece inspection to spot-checking production components, an optical comparator offers a straightforward, non-contact method of measuring critical dimensions. Let’s cover how this tool functions, why it remains so well-liked, and what to consider when purchasing.
What is an Optical Comparator?
In essence, an optical comparator is an object-measuring instrument used to visually inspect objects, magnify and project their profile onto a screen. By backlighting and optics, one can easily measure size, shape, angles, and features and compare them to known standards, overlays, or CAD-created charts. The standard inspection procedure includes:
- Placing the component on stage
- Projecting its silhouette through transmitted light
- Enlarging the image using precise optics
- Measuring against grid lines or digital readouts
This technique provides an accurate assessment without ever coming in contact with the part.
Components of Optical Comparator
Several features combine to give high-performance readings:
Lighting System:
Highly intense light source (now most commonly LED-based) ensures even back illumination. Even light is essential in order to project sharp and clean images.
Measurement Stage:
The stage holds the work piece and will usually be moving in several axes (X, Y, and occasionally Z). It will be motorized, if so equipped, for added accuracy and reproducibility
Optical System:
Magnification lenses (usually 10x to 100x) make a sharp and magnified outline. Good quality optics is required to avoid distortion and improve measurement clarity.
Viewing Screen:
The projection screen shows the enlarged image. The screens usually have grid lines or reticles to facilitate manual comparison and dimension checking.
Digital Displays and Software:
Although analog comparators still exist, most modern units are equipped with digital displays or computer software to assist with accurate, repeatable measurements and data logging.
Who Uses Optical Comparators
Optical comparators are used in industries in small shops as well as in high-tech manufacturing plants. Some common uses are:
- Automotive: Measuring cams, valves, and gear profiles
- Aerospace: Measuring key fasteners and turbine components
- Medical: Measuring surgical instruments and implant size
- Stamping and Fabrication: Checking punched holes and profiles
- Injection Molding: Inspecting the parts outline and mold quality.
Their contactless design makes them best suited for soft products or delicately detailed parts.
Why Optical Comparators Are in Demand
Despite all the digital choices available today, optical comparators are still in favor with many manufacturers, although there are sound reasons for this popularity:
- Simple to use: Simple to train operators
- Quick turnaround: Instant results, ideal for spot checks
- Cost-effective: Lower initial cost than many available automated systems. Durable, built to survive a long lifespan with little maintenance
- Highly precise: Particularly fine on contours, edges, and outlines
They are often the fastest way to verify dimensions without putting into operation a full inspection program.
Optical Comparator comparison with Vision Systems
A question that is frequently asked in quality labs is: “Should we switch to a vision system?” While vision systems offer strong automation and image processing, they do not necessarily replace the optical comparator; they augment it.
| Features | Optical Comparator | Vision System |
| Learning Curve | Low | Moderate to high |
| Upfront Cost | Relatively low | Considerably higher |
| Batch Size | Ideal for smaller runs | Better for high-volume production |
| Data Analysis | Visual comparisons | Advanced data logging & analytics |
Both tools are found in most shops. The comparator is reserved for quick checks, and the vision system is reserved for detailed inspection reports.
Select the Right Optical Comparator
Choosing the best optical comparator depends on your specific needs. Here’s what to consider:
- Screen size: Larger screens allow for easier viewing of large parts
- Magnification: Choose lens options to your tolerance levels
- Illumination: LEDs provide longevity and steady brightness
- Stage type: Manual stages for low volume, motorized for high production
- Computer upgrades: Additions like edge detection and DROs improve consistency
- CNC features: Certain advanced models have programmable measurements
Tips for Maintenance
To maintain your optical comparator generating accurate findings, it’s crucial to follow a routine maintenance schedule:
- Dust and clean the screen and lenses
- Inspect light sources regularly and replace if weak or crooked
- Lubricate moving components according to the manufacturer’s guide
- Regularly calibrate the system to ensure utmost accuracy
- Store lenses and templates in protective storage cases
Failure to exercise routine maintenance will affect accuracy and lessen image definition.
Final Thoughts
In an automation-and-software-skewed world, the optical comparator can compete as a standalone speed, precision, and cost-effective device. It’s particularly worth its weight for how easily it is to operate and catch defects early in production.
Regardless of your function as a machinist, quality engineer, or inspector, investing in an optical comparator as part of your quality control system offers a uniform method to enforce standards and raise manufacturing confidence.


